Before I get to the point of no return.
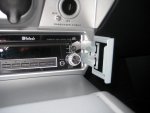
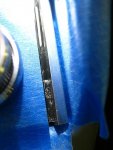
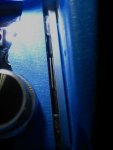
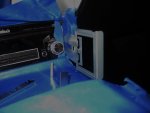
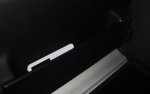
There are no directions.:ack The manual shows the sliver bars on left and right as coming off. There is a smaller tool to move the silver bars out of the way. But there is no room to actually remove them when in the dash, IMO. They do move enough to the outside to stick the tool in between the radio and bars.
For those that have done this.
Is this the correct orientation or the tool or does the L go to the outside? Also, any issues with clearance on the parking brake? or console on removal. Anything else to expect? Thanks.
I don't want to stick it in the wrong way, as the manual says it locks in place. I guess there is no way to remove the tool unless you slide the radio out ( Guessing here). Then it looks like you just slide it back in place an it will lock. Do I have this right?
Yeah, I know I need to tape up before real surgery.