
pauls
GT Owner
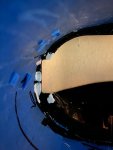
When I put in the left side of the gauge panel it will not go into the left bracket hole. I do not know if it is the top or the bottom of the left bracket hole where it hangs up as the panel obstructs the view. The panel goes into the right bracket hole (first) fine. I thought about enlarging the left bracket hole. Any other thoughts?
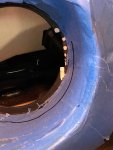
") If I did it on my own I would have to move the panel in 2 inches then get in the foot well and pull the harness a bit and keep repeating the process until I got the panel to seat. So I had my son work with me on this. As I moved the panel in he gently pulled the harness to eliminate slack. Once I figured this out the panel seated in literally 5 minutes. I was curious what would happen if I pulled the panel out with my son pushing the harness through the hole. It also came out in minutes. I figure that part of the problem removing and installing the gauge panel is that the harness hangs up in the harness opening (steel trap) in both directions. For me it is a two man job. For me understanding the significance of the steel trap is just as important as setting up to tape and towel. Again thanks to everyone who provided such useful information.
If I did it on my own I would have to move the panel in 2 inches then get in the foot well and pull the harness a bit and keep repeating the process until I got the panel to seat. So I had my son work with me on this. As I moved the panel in he gently pulled the harness to eliminate slack. Once I figured this out the panel seated in literally 5 minutes. I was curious what would happen if I pulled the panel out with my son pushing the harness through the hole. It also came out in minutes. I figure that part of the problem removing and installing the gauge panel is that the harness hangs up in the harness opening (steel trap) in both directions. For me it is a two man job. For me understanding the significance of the steel trap is just as important as setting up to tape and towel. Again thanks to everyone who provided such useful information.
![DSCN0479[1].JPG](/forums/data/attachments/48/48908-e22bd3fc4209d7bc949bf2115e52cb6d.jpg?hash=4ivT_EIJ17)