
Recently I have been asked quite a bit about what the issue is with some of the Whipple S/C'd cars and the belt "chirping" and how was it that we were able to eliminate it. I will start by saying that it was not until we recently completed a Whipple install on a GTX1 and did some different things in relation to the drive and pulleys to accommodate the GTX1 hatch that I fully understood the dynamics at play and through a collective effort we worked out a solution.
To date, I have personally performed this procedure on close to a dozen GT's with a 100% success rate. Now, some of the cars we have seen that do not exhibit the belt "chirp" do have correctly adjusted sliding idlers, proper belt sizes for the S/C pulley used and all that we can attribute this to is that there must be some minor production variances within the cars that we have inspected. I would like to thank the guys at Whipple for all of their help and input as we worked this out.
For years, I was under the belief that the "chirping" sound was coming from the Whipple sliding idler pulley (bearings) or the belts themselves; I saw how some people either moved the sliding idler out all the way or just removed it all together in an effort to reduce or eliminate the noise and many times it worked but at the expense of belt slip at high RPM and boost levels. In the past, I have even changed many belts and idler pulleys in a effort to stop "chirping" only to have it typically return a short time later. The thing that did not make sense as we discussed this with the R&D dept. at Whipple was the fact that those same idlers were being used in many of their marine kits where belt speeds are often much higher than what we are dealing with on the FGT kit and those RPM's are being sustained for prolonged periods of time without any bearing failures. What we discovered on the problem cars as we looked closely into the issue was a slight misalignment between the S/C pulley and the 8-rib grooved idler at the front of the RH head; this alignment issue is further compounded by the fact that the belt is routed tightly through the two smooth idlers between these two pulleys (as it should be and needs to be); with this loop, it does not allow for the belt to run fore and aft; thereby creating a strong "bind" I'll call it, as the belt transitions from the sliding idler to the S/C pulley. We confirmed this in my shop with the help of a Gates Laser Alignment tool which proved to be an invaluable asset during this process. What this revealed was a mis-alignment of about .090-.100. With a .100 spacer between the S/C hub and pulley along with longer pulley bolts, we were able to achieve as a near perfect alignment as we were able to measure. We went one step further and carefully machined the pulley on the lathe at each end with a slight reveal to allow the belt to relax slightly on the shoulder; we did this to further quiet those belts that were cut with slight imperfections at the edges (a belt with anything more than a slight imperfection should be replaced). After inspecting many belts, I would add that those belts from Gates have been much nicer and given us virtually no trouble than the early supplied Bando brand belts; I would recommend changing over to the Gates belts if you have an older kit with the Bando belt.
Before you start the procedure, verify there is no issue with the supercharger itself and check the oil level in the front sight. We just performed this procedure on a car in the shop and I documented the procedure in an effort to provide some answers hopefully clear up some misconceptions.
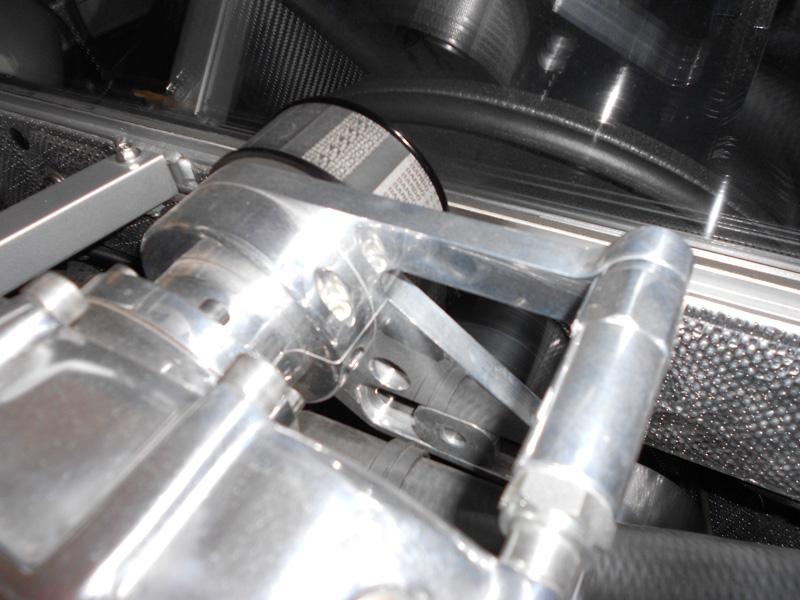
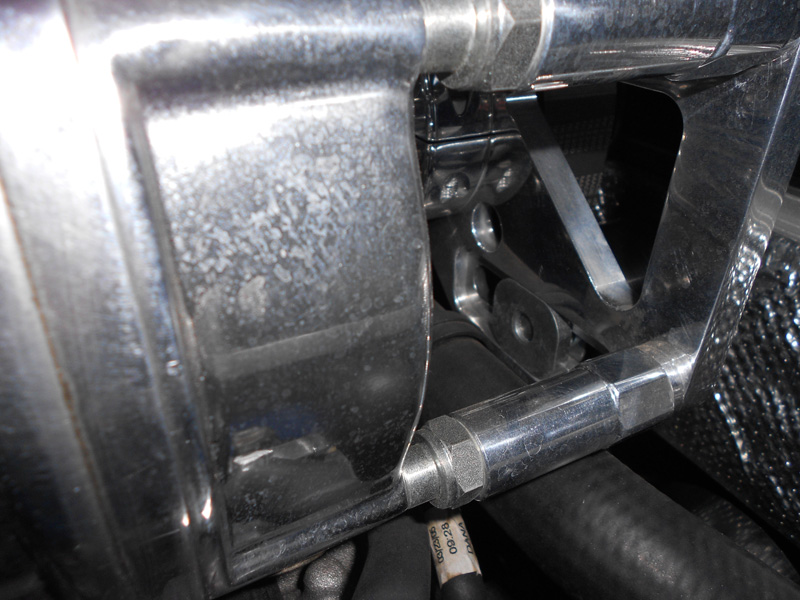
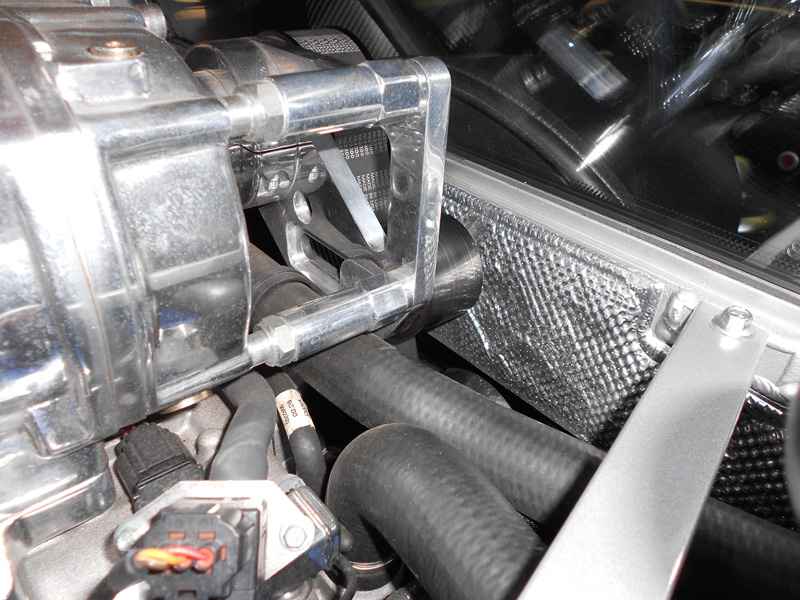
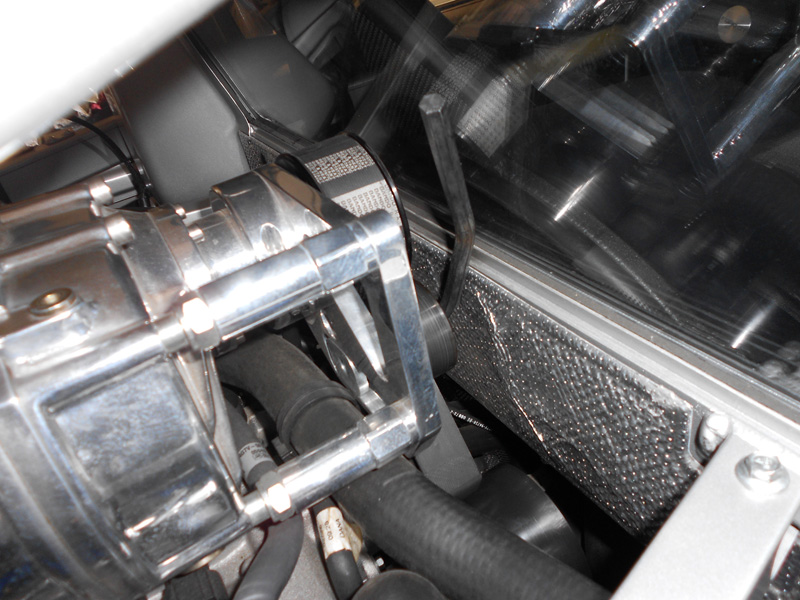
Here are a couple examples of where the sliding idler was to start with on this car. This example is really not that bad but the belt wrap could be improved.
At this point, loosen the S/C pulley bolts with a 5mm allen wrench.
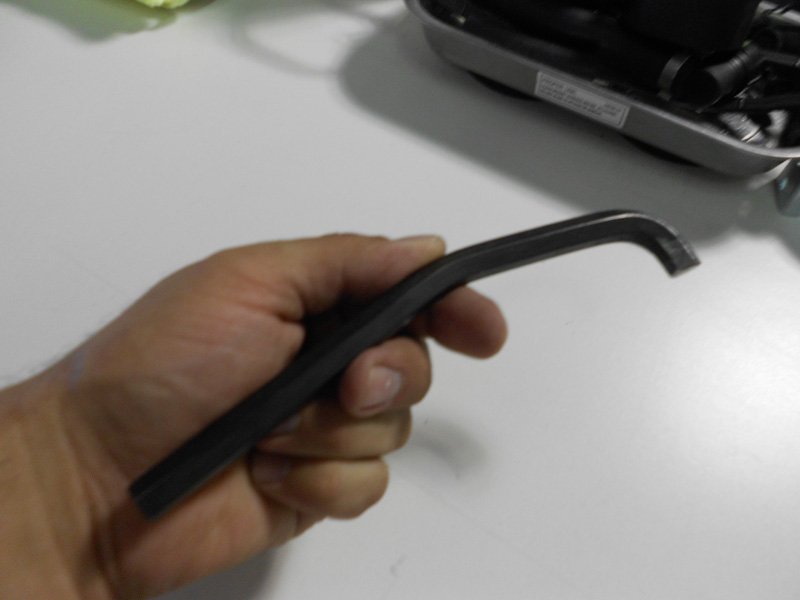
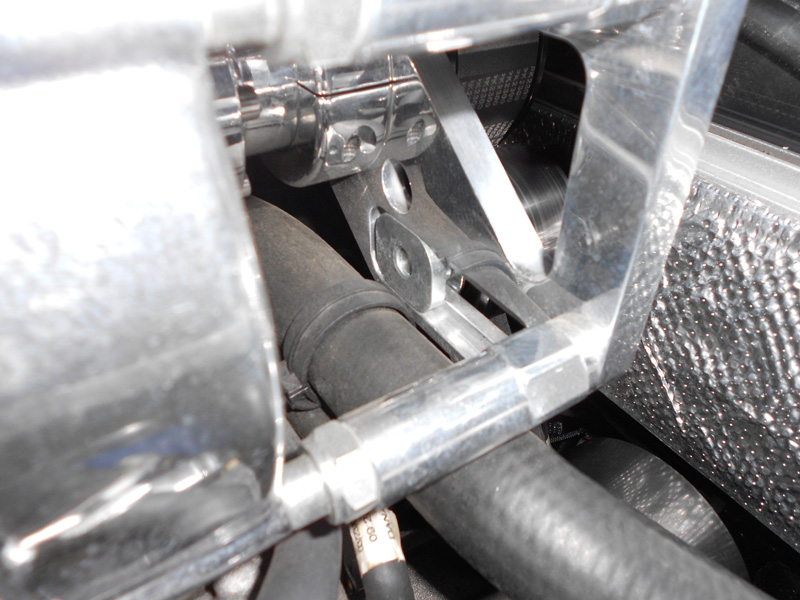
I've been asked what we use to tighten and adjust the sliding idler and here's one of our specially made "J-Tools"-nothing more than an extra long 3/8" allen wrench that has been shortened on the bent end and has a strategically placed bend to clear the rear glass. Works like a charm!
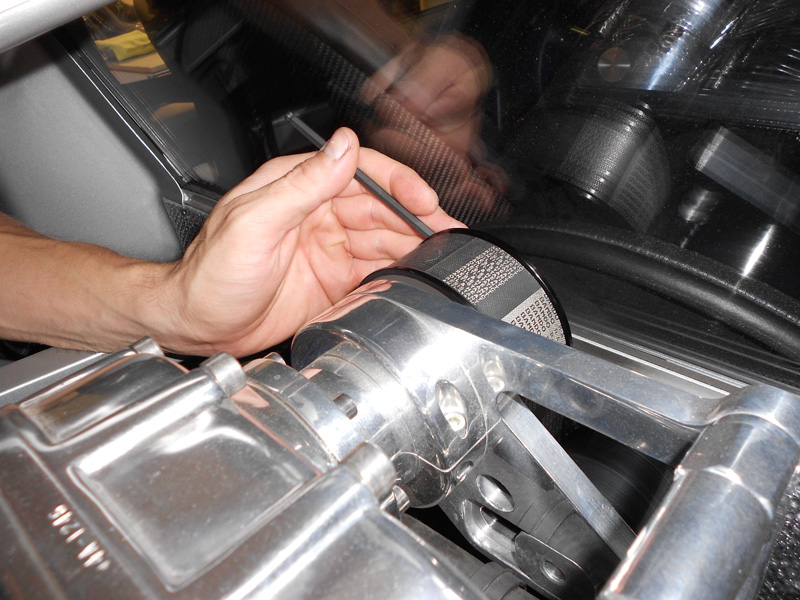
With the sliding idler loosened and slid all way out, you can release tension on the belt and remove it from the S/C pulley.
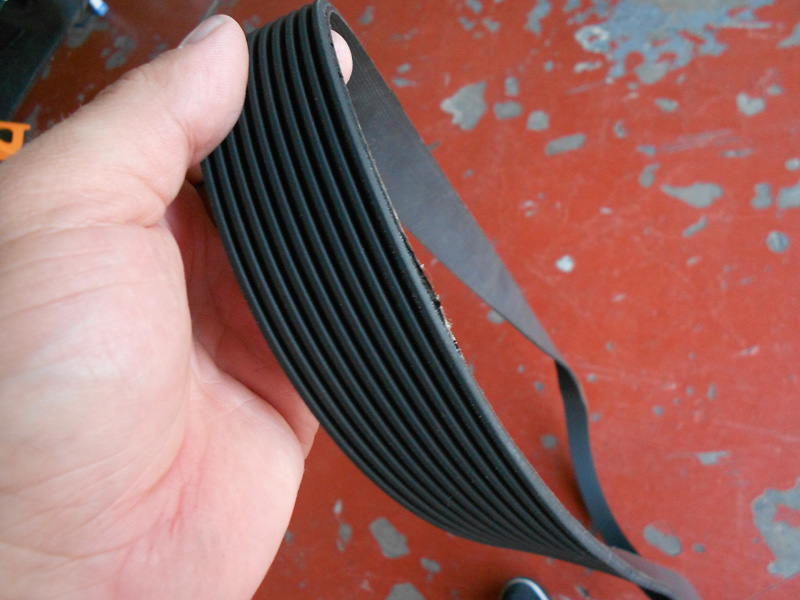
NOTE-Every effort should be made to closely inspect the belt too because a belt that exhibits edge damage like the example below will most likely continue to make noise even if the geometry issue is corrected. I recommend physically removing the belt and inspecting it closely, although, we have studied the belts as they run at idle under bright lights and by starting and stopping the engine at different points in an effort to look at every inch of the belt; it is more work to remove the belt; however, it may reveal minor defects that would not otherwise be detected with the belt still installed on the engine.
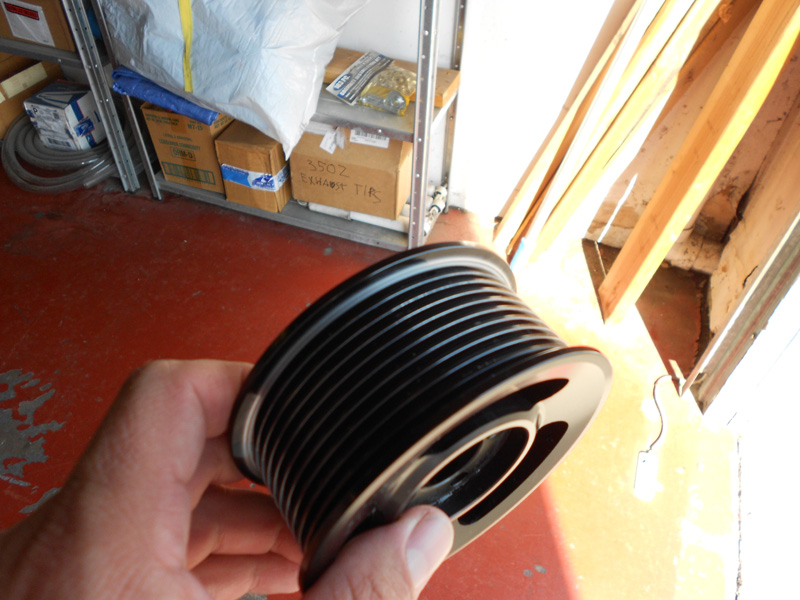
Here is a good example illustrating the forces at work, note how the forward facing edges of the grooves and shoulder clearly show a wear pattern in the anodized finish.
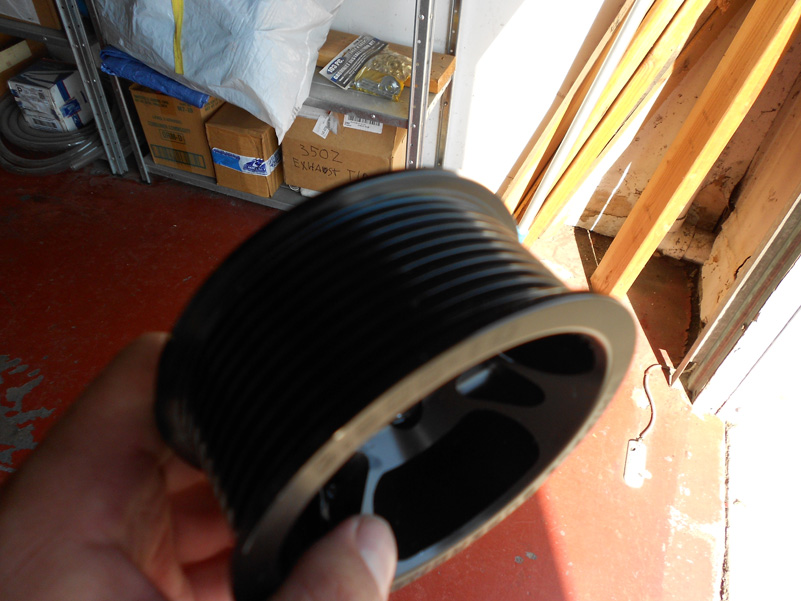
Now, notice how the rear facing edges do not exhibit the same wear pattern.
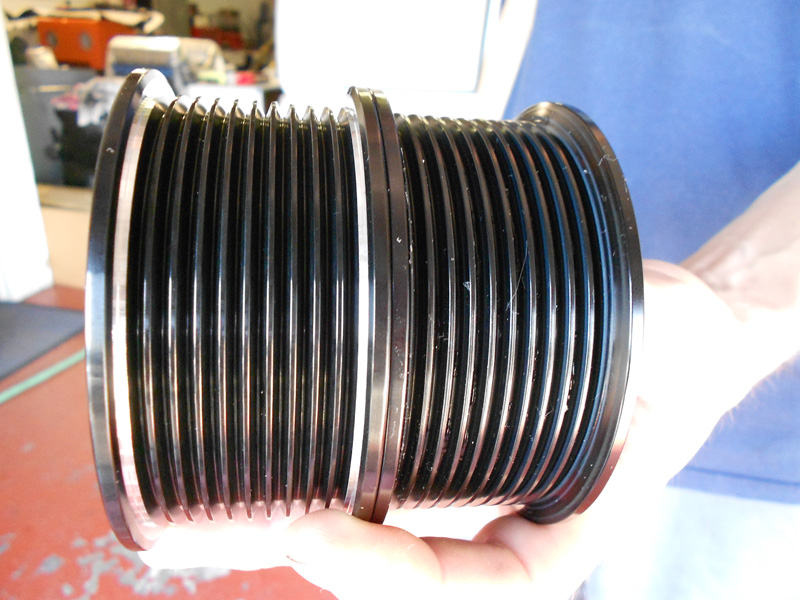
A side-by-side example showing the pulley modification.
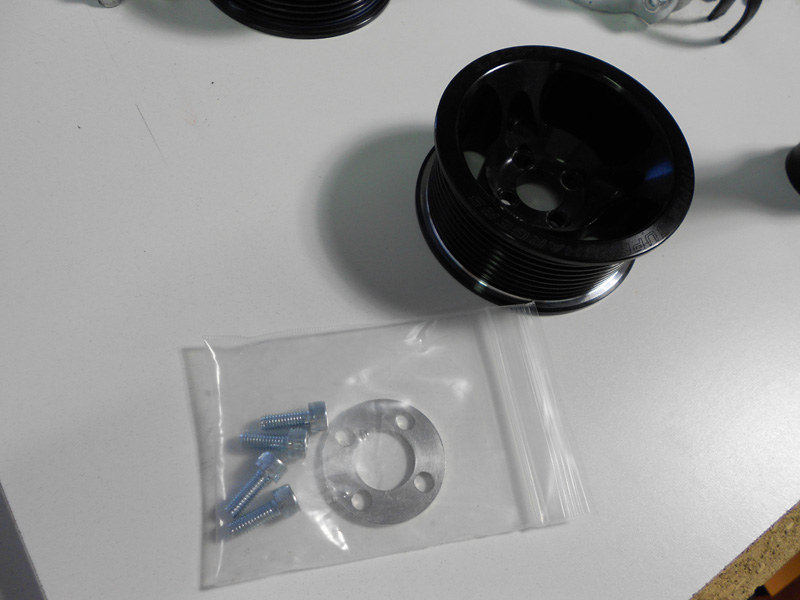
The required parts include a .100 spacer, 4-16mm long bolts, and the specially machined pulley.
Install the new pulley, placing the .100 spacer behind the pulley, using the 4 new 16mm long bolts. Tighten the bolts by hand with the 5mm allen wrench (you will do a final tighten once the belt is reinstalled).
An additional step to insure complete alignment is to slide the idler up close to the S/C pulley and compare the distance between the front and rear edges of the S/C pulley to the smooth sliding idler. With the sliding idler up close to the S/C pulley, snug down the 3/8" bolt retaining the sliding idler and use a feeler gauge to measure the front and rear edge dimension; we typically like to get it around .004 or less. If this dimension is greater, it will be necessary to slightly loosen the set bolt on the collar around the drive snout and gently move the idler plate forward or rearward to achieve alignment. NOTE-This step is generally not required and extra care must taken so as not to damage the idler plate or the drive.
Next, reinstall or replace the belt, being careful to route and also adjust the 6-rib and O/P belt correctly (if they were removed).
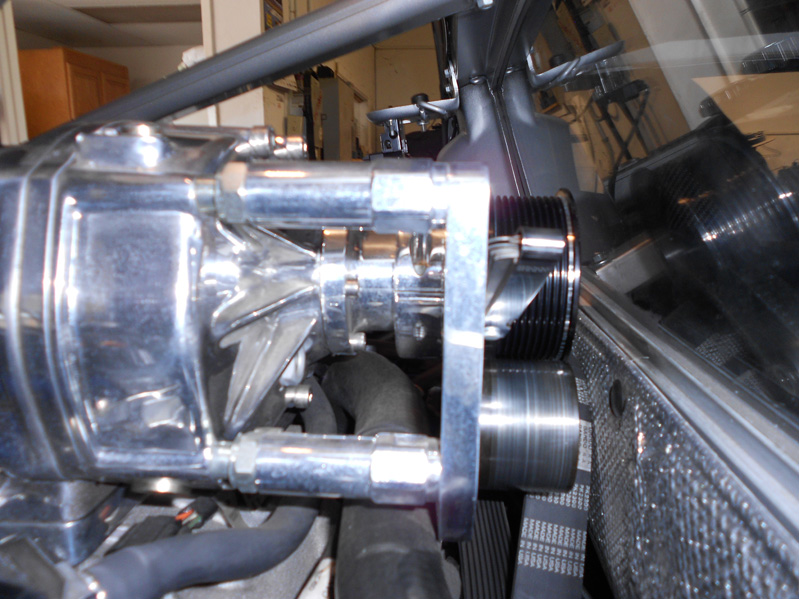
With the tension released on the S/C belt, slide the idler up close to the S/C pulley as pictured and tighten the bolt. Check the clearance between the idler and the S/C pulley giving the maximum amount of belt wrap without "crashing" the two pulleys together.
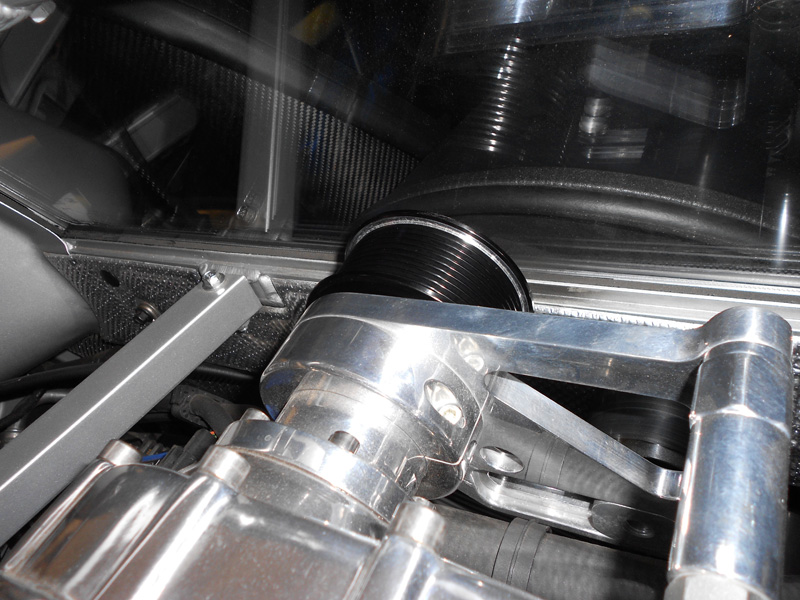
Here's a look at the sliding idler when properly adjusted.
Lastly, do a final tightening of the 4 S/C pulley bolts with the 5mm allen wrench, then recheck all of the belts and fasteners once again and review everything prior to starting the engine. When the engine starts the "chirping" should finally be gone.
To date, I have personally performed this procedure on close to a dozen GT's with a 100% success rate. Now, some of the cars we have seen that do not exhibit the belt "chirp" do have correctly adjusted sliding idlers, proper belt sizes for the S/C pulley used and all that we can attribute this to is that there must be some minor production variances within the cars that we have inspected. I would like to thank the guys at Whipple for all of their help and input as we worked this out.
For years, I was under the belief that the "chirping" sound was coming from the Whipple sliding idler pulley (bearings) or the belts themselves; I saw how some people either moved the sliding idler out all the way or just removed it all together in an effort to reduce or eliminate the noise and many times it worked but at the expense of belt slip at high RPM and boost levels. In the past, I have even changed many belts and idler pulleys in a effort to stop "chirping" only to have it typically return a short time later. The thing that did not make sense as we discussed this with the R&D dept. at Whipple was the fact that those same idlers were being used in many of their marine kits where belt speeds are often much higher than what we are dealing with on the FGT kit and those RPM's are being sustained for prolonged periods of time without any bearing failures. What we discovered on the problem cars as we looked closely into the issue was a slight misalignment between the S/C pulley and the 8-rib grooved idler at the front of the RH head; this alignment issue is further compounded by the fact that the belt is routed tightly through the two smooth idlers between these two pulleys (as it should be and needs to be); with this loop, it does not allow for the belt to run fore and aft; thereby creating a strong "bind" I'll call it, as the belt transitions from the sliding idler to the S/C pulley. We confirmed this in my shop with the help of a Gates Laser Alignment tool which proved to be an invaluable asset during this process. What this revealed was a mis-alignment of about .090-.100. With a .100 spacer between the S/C hub and pulley along with longer pulley bolts, we were able to achieve as a near perfect alignment as we were able to measure. We went one step further and carefully machined the pulley on the lathe at each end with a slight reveal to allow the belt to relax slightly on the shoulder; we did this to further quiet those belts that were cut with slight imperfections at the edges (a belt with anything more than a slight imperfection should be replaced). After inspecting many belts, I would add that those belts from Gates have been much nicer and given us virtually no trouble than the early supplied Bando brand belts; I would recommend changing over to the Gates belts if you have an older kit with the Bando belt.
Before you start the procedure, verify there is no issue with the supercharger itself and check the oil level in the front sight. We just performed this procedure on a car in the shop and I documented the procedure in an effort to provide some answers hopefully clear up some misconceptions.
Here are a couple examples of where the sliding idler was to start with on this car. This example is really not that bad but the belt wrap could be improved.
At this point, loosen the S/C pulley bolts with a 5mm allen wrench.
I've been asked what we use to tighten and adjust the sliding idler and here's one of our specially made "J-Tools"-nothing more than an extra long 3/8" allen wrench that has been shortened on the bent end and has a strategically placed bend to clear the rear glass. Works like a charm!
With the sliding idler loosened and slid all way out, you can release tension on the belt and remove it from the S/C pulley.
NOTE-Every effort should be made to closely inspect the belt too because a belt that exhibits edge damage like the example below will most likely continue to make noise even if the geometry issue is corrected. I recommend physically removing the belt and inspecting it closely, although, we have studied the belts as they run at idle under bright lights and by starting and stopping the engine at different points in an effort to look at every inch of the belt; it is more work to remove the belt; however, it may reveal minor defects that would not otherwise be detected with the belt still installed on the engine.
Here is a good example illustrating the forces at work, note how the forward facing edges of the grooves and shoulder clearly show a wear pattern in the anodized finish.
Now, notice how the rear facing edges do not exhibit the same wear pattern.
A side-by-side example showing the pulley modification.
The required parts include a .100 spacer, 4-16mm long bolts, and the specially machined pulley.
Install the new pulley, placing the .100 spacer behind the pulley, using the 4 new 16mm long bolts. Tighten the bolts by hand with the 5mm allen wrench (you will do a final tighten once the belt is reinstalled).
An additional step to insure complete alignment is to slide the idler up close to the S/C pulley and compare the distance between the front and rear edges of the S/C pulley to the smooth sliding idler. With the sliding idler up close to the S/C pulley, snug down the 3/8" bolt retaining the sliding idler and use a feeler gauge to measure the front and rear edge dimension; we typically like to get it around .004 or less. If this dimension is greater, it will be necessary to slightly loosen the set bolt on the collar around the drive snout and gently move the idler plate forward or rearward to achieve alignment. NOTE-This step is generally not required and extra care must taken so as not to damage the idler plate or the drive.
Next, reinstall or replace the belt, being careful to route and also adjust the 6-rib and O/P belt correctly (if they were removed).
With the tension released on the S/C belt, slide the idler up close to the S/C pulley as pictured and tighten the bolt. Check the clearance between the idler and the S/C pulley giving the maximum amount of belt wrap without "crashing" the two pulleys together.
Here's a look at the sliding idler when properly adjusted.
Lastly, do a final tightening of the 4 S/C pulley bolts with the 5mm allen wrench, then recheck all of the belts and fasteners once again and review everything prior to starting the engine. When the engine starts the "chirping" should finally be gone.